Add Tasks to a Task Group
A task group is essentially a container for the list of tasks that need to be completed in a particular order. This section will walk you through the process of adding tasks to a task group to create a workflow.
|
|
 PREREQUISITES:
To add tasks to your task group, follow these steps:
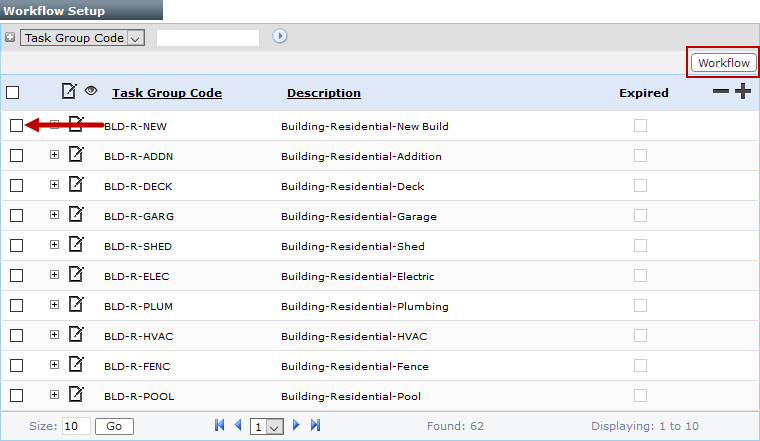
- Click Tasks & Inspections on the PLL Admin menu and select Workflow Setup.

From the Workflow Setup panel, there are two ways to add tasks to a task group.
- On the Workflow Setup panel, click the plus icon next to the desired task group to open the group's sub panel.
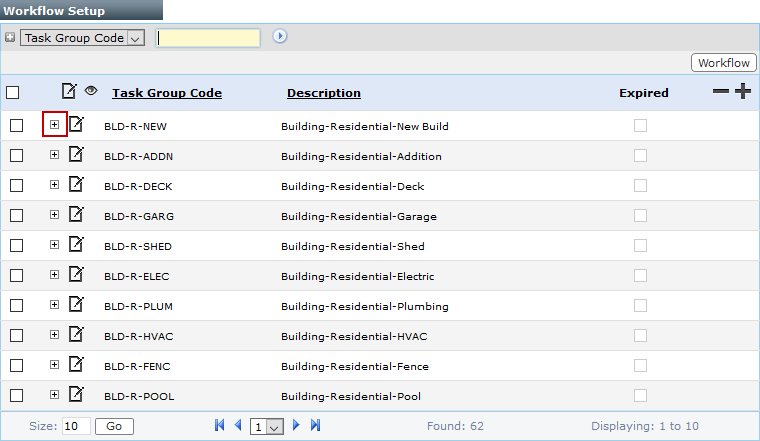
 NOTE: Search or filter the records on this panel to quickly find the one(s) you want. See Search and Filter Records for more information.
- When the task group sub panel opens, click Add record at the right-hand side.

- When the task group detail panel appears, click Select Task to open a selection window.

The selection window contains two fields: Available Tasks and Selected Tasks. The window also contains four arrow buttons.
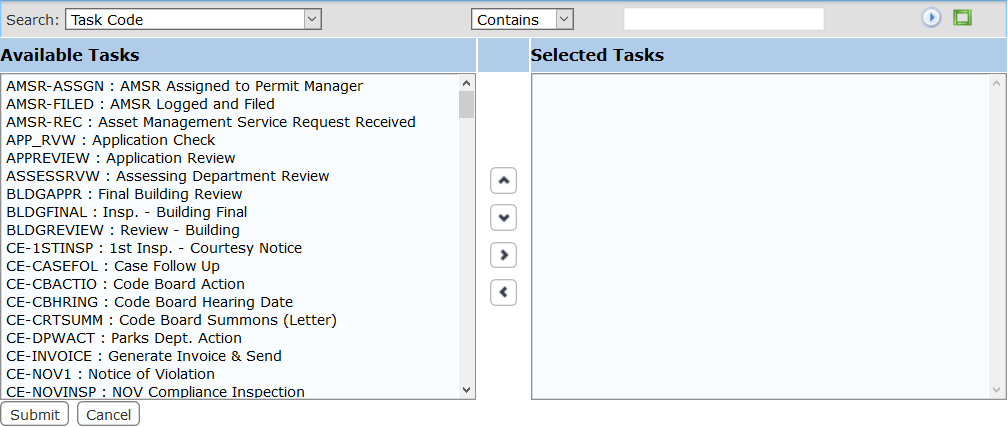
The field on the left displays all the available tasks. The field on the right lists which tasks are assigned to the task group.
- Select items in the Available Tasks field by clicking on them.
 TIP: You may select multiple items at once by using <Shift + click> to select items directly in a row or <Ctrl + click> and select items individually.
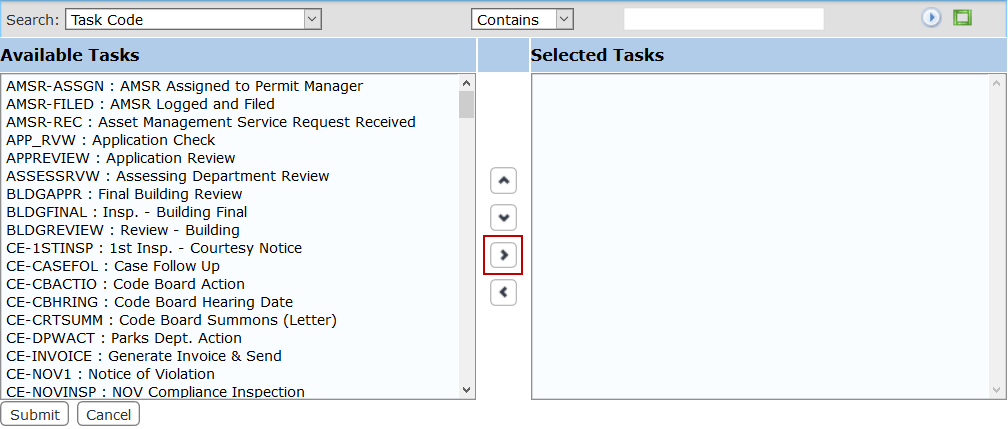
- When you have selected the tasks you want, click Add selection to add them to the Selected Tasks field.
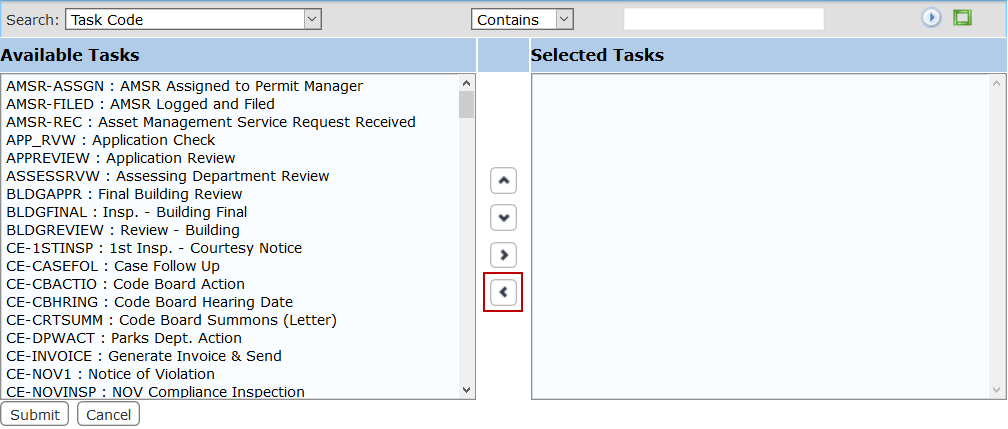
Tasks may be removed from a template by selecting the task you wish to remove in the Selected Tasks field and clicking Remove selection.
You can move a task up or down in the Selected Controls field by selecting the task you wish to move and then clicking Move selection up or Move selection down until the item is in the desired place.
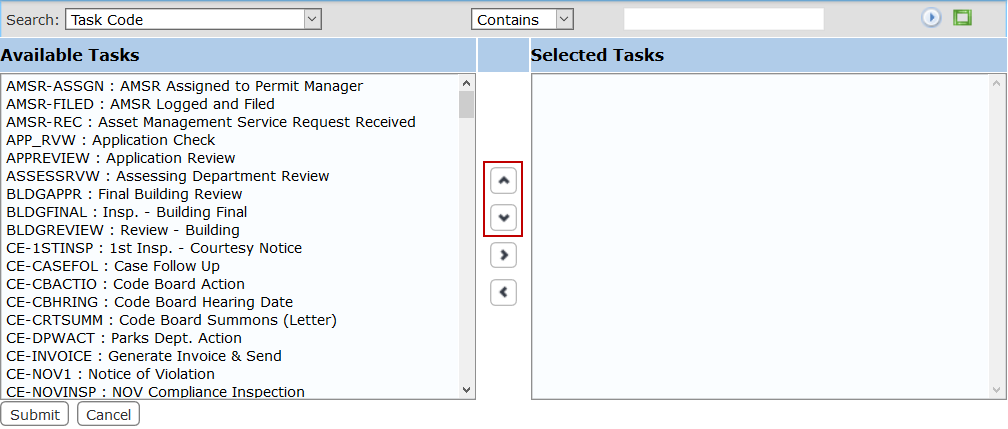
 IMPORTANT: Make sure the order within this window matches the desired milestone order. Milestones must be set sequentially.
- When you have added the tasks you want, click Submit.
- The task you selected appears in the task group detail panel. At this time, you can only change the Duration, Start Point, End Point, and Task Result fields.

- In the Duration fields, enter the estimated amount of time the task requires to be completed.
- In the Start Point field, enter the number of the milestone in which the task becomes available.
- In the End Point field, enter the number of the milestone in which the task must be completed.
NOTE: When setting the milestone using the Start Point and End Point fields, the task is added to the end of the milestone. The order of tasks within a milestone can be adjusted using the workflow diagram.
- Click Lookup next to the Task Result field to open a selection window.
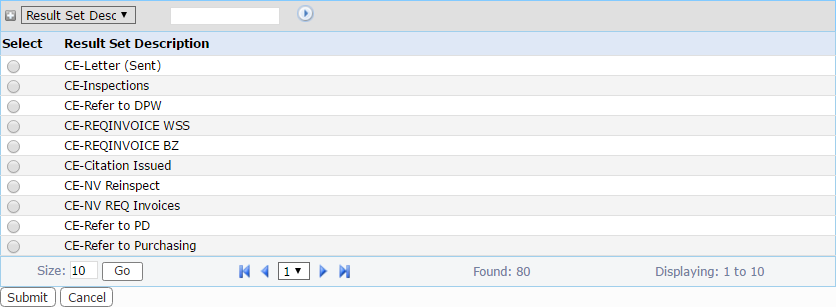
- Select the option button next to the desired task result and click Submit. This closes the selection window.
- Click Save on the task group detail panel.
NOTE: The panel used to add tasks to the workflow is cleared once you click Save. This is the expected behavior.
- On the Workflow Setup panel, select the check box next to the task group you want and click Workflow near the top of the panel.
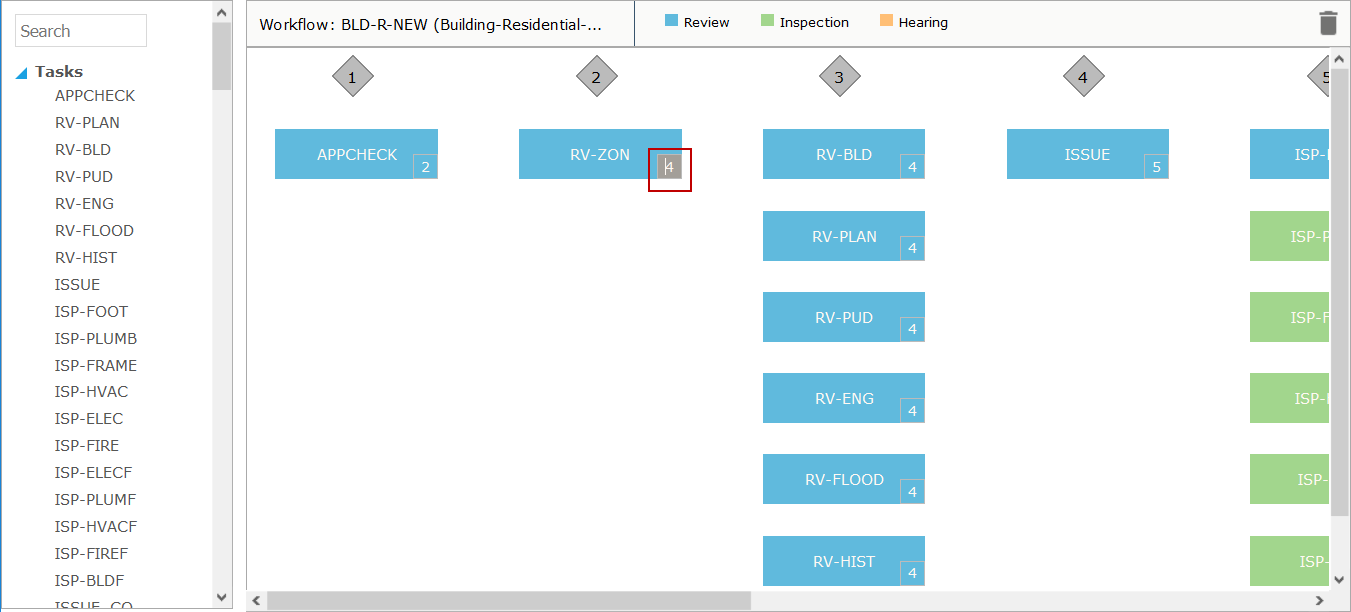
- When the workflow diagram opens, select a task from the panel on the left and drag it to the appropriate milestone in the diagram.
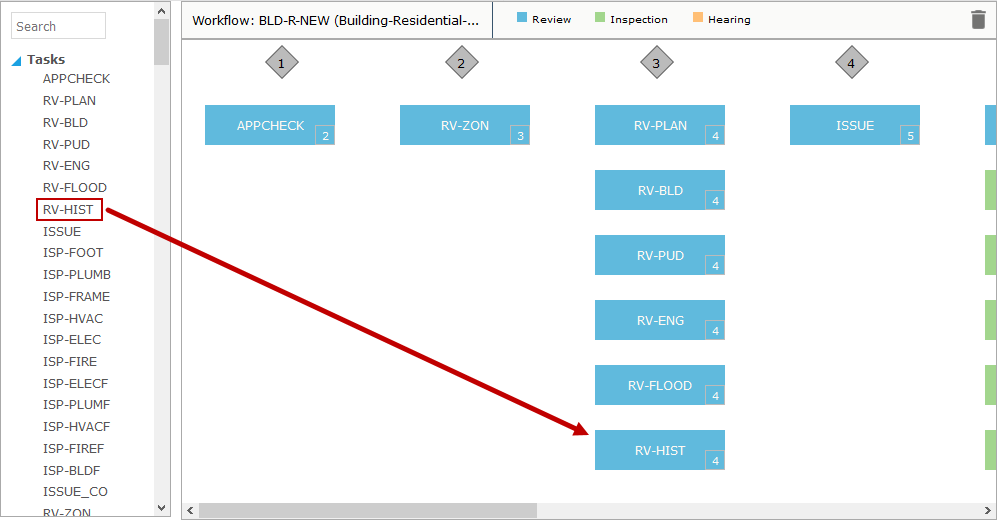
By default, a task only spans a single milestone. The number in the lower right corner of the task indicates the number of the milestone in which the task must be completed.
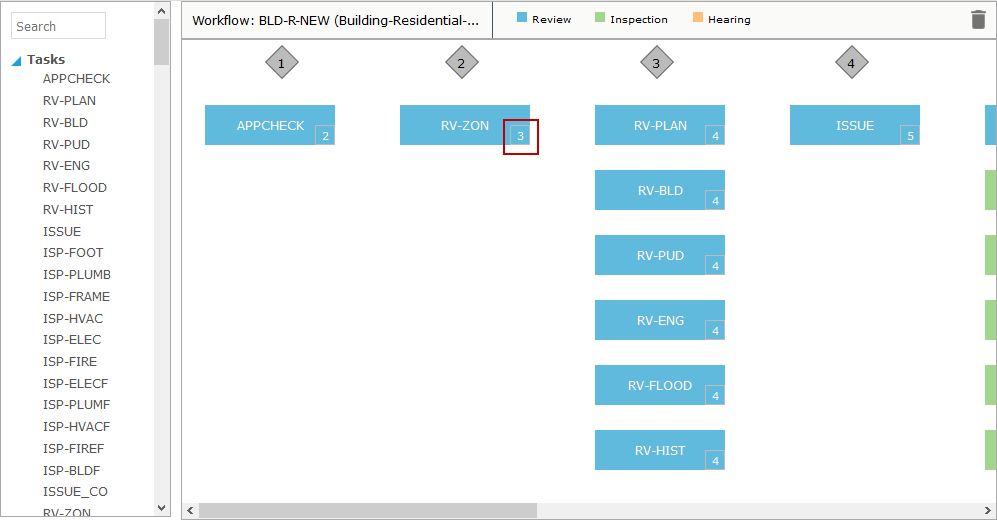
- To change the milestone in which the task must be completed, highlight the number in the lower right corner of the task with your cursor and enter the number of the new endpoint milestone.
- When you are finished adding tasks to the workflow diagram, close the diagram window.
IMPORTANT: When using the workflow diagram to update workflows, the changes you make are not immediately reflected in the workflow setup grid. However, a warning icon will appear next to the task group that has been modified.
Hovering over the warning icon will display the following tooltip:

