Install Cityworks Single Sign-on
Cityworks Single Sign-on has to be installed. If you are updating your Cityworks Single Sign-on site, see Update Cityworks Single Sign-on.
|
If there is a previous version of ASP.NET MVC on the machine, you will need to install ASP.NET MVC 4.0. If ASP.NET MVC has not been installed on the machine, you do not need to install ASP.NET MVC 4.0. |
 PREREQUISITES:
- To download Single Sign-on, log in to MyCityworks and search for Single Sign-on 1.3.
- After reading the download page, download the file found under the Download Files section.
- Open the file, then double-click the install file to open the installer.
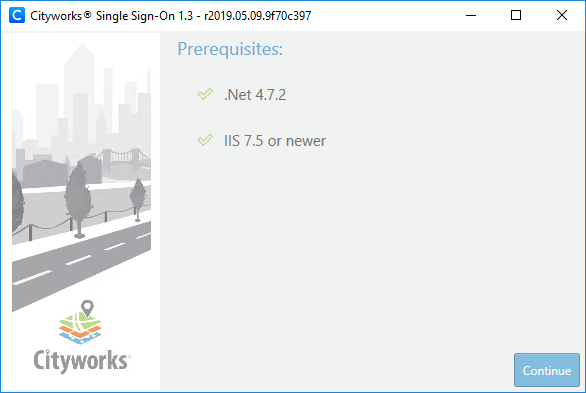
The first page shows the prerequisites for Single Sign-on.
- Click Continue.
- Select the Install option and click Continue.
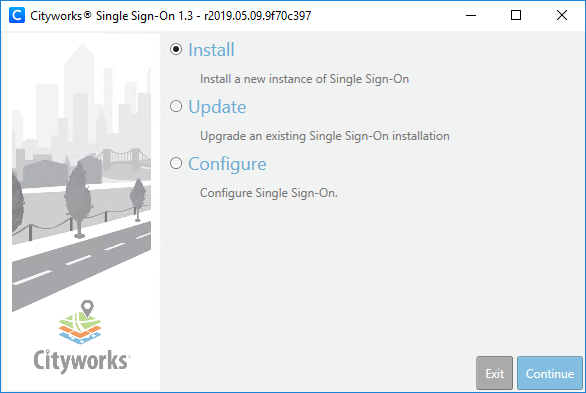
 NOTE: The Configure option can be used to update your Single Sign-on site settings if necessary.
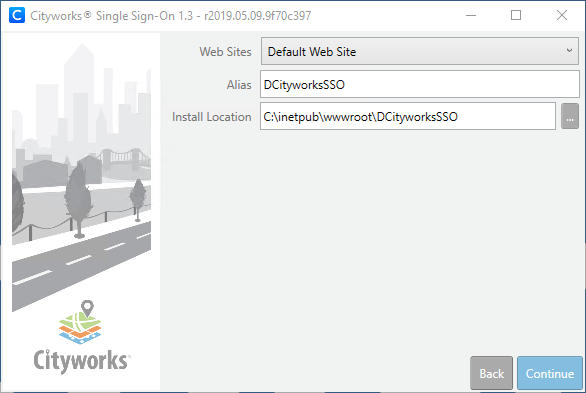
- Leave the Web Sites drop-down list as Default Web Site.
- Enter an Alias for the site. This is the name you gave the application in ArcGIS Online or Portal for ArcGIS in Create the Application in ArcGIS Online or Portal for ArcGIS. Note that the URL to access the Single Sign-on site is <server_name>/<alias>, so whatever you enter here will be part of the URL that users will use to access the Single Sign-on site. It is important that you name the Single Sign-on site something different than the core Cityworks site alias.
- The default location for storing the Cityworks Single Sign-on files is C:\inetpub\wwwroot\<alias>. If desired, you can specify a different location.
- Click Continue.
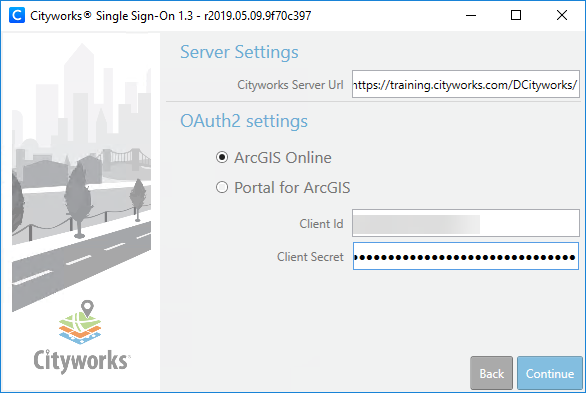
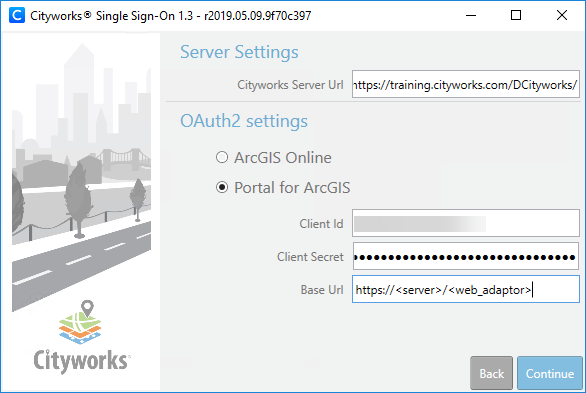
- In the Server Settings section, enter the Cityworks Server Url. This the URL for your Cityworks site. Note that this value is stored in the WebAppSettings.config file located under ...\inetpub\wwwroot\<Single_Sign-on_site_alias>\WebSite.
- In the OAuth2 settings section, select either ArcGIS Online or Portal for ArcGIS.
- If you select ArcGIS Online, enter the Client Id and Client Secret (password) that you got when creating the application in ArcGIS Online. See Create the Application in ArcGIS Online or Portal for ArcGIS for more information.
- If you select Portal for ArcGIS, enter the Client Id and Client Secret (password) that you got when creating the application in Portal for ArcGIS. See Create the Application in ArcGIS Online or Portal for ArcGIS for more information. Also, enter the Base Url for your Portal for ArcGIS site (https://<server>/<web_adaptor>).
NOTE: The information entered in the OAuth2 settings section above is stored in the Oauth2Settings.config file located under ...\inetpub\wwwroot\<Single_Sign-on_site_alias>\WebSite.
- Click Continue.
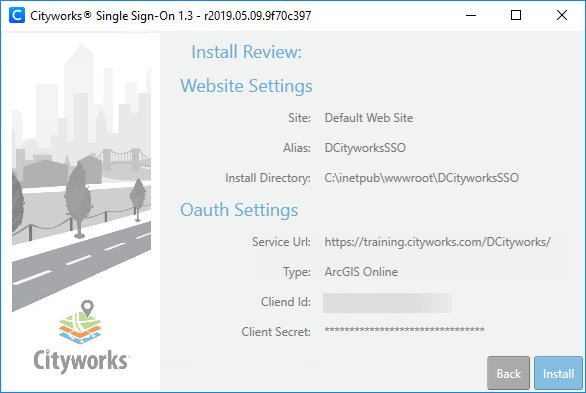
This is an example for ArcGIS Online:
This is an example for Portal for ArcGIS:
- Review the install information and click Install.
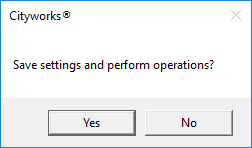
- When asked if you want to proceed, click Yes.
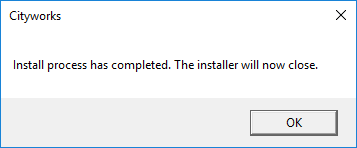
You will be notified when the install process is complete.
- Click OK.
To access your Cityworks Single Sign-on site, open your browser and navigate to <server_name>/<alias>.
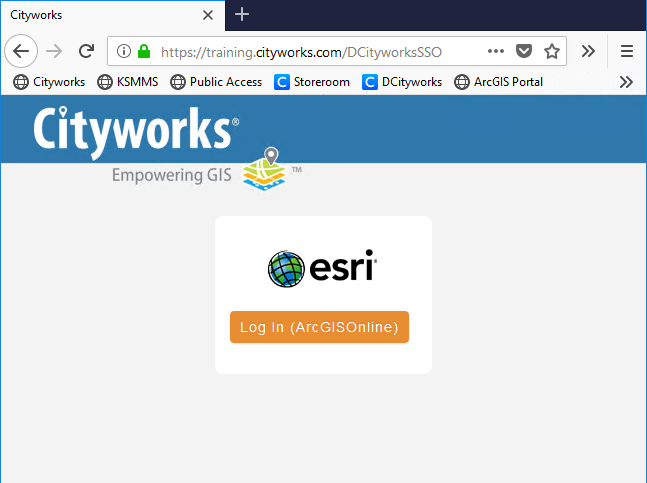
 TIP: The Cityworks logo that is displayed on this page can be changed by replacing the logo.png file located under ...\inetpub\wwwroot\<Single_Sign-on_site_alias>\WebSite\Content with your desired .png file. It is important to note that this customization is not preserved when updating Single Sign-on, so you will need to replace the image after any updates.

Documentation Feedback Form
Please give us feedback about this Cityworks guide.
If you have a feature enhancement request, please see the Ideas page on MyCityworks.
Last updated 2/25/2020.
Copyright© 2017–2019 by Azteca Systems, LLC. All rights reserved.