Add Material to a Storeroom
You can add material to individual storerooms to keep track of where your material is located.
|
|
 PREREQUISITES:
- Tap
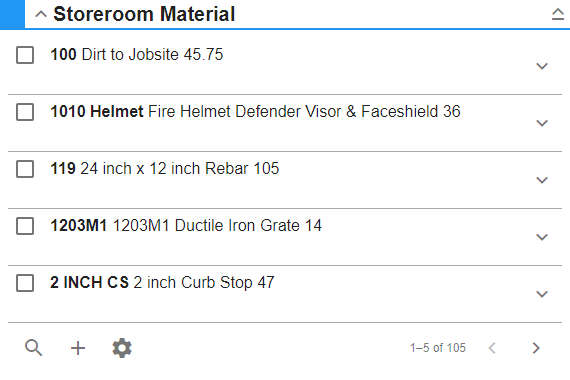
- Tap Storeroom Material.
- Tap the arrow to the right of the storeroom you'd like to add material to.
- Tap the arrow to the right of Storeroom Material.
The Storeroom Material panel displays the alphabetical list of materials that is assigned to the storeroom selected. You can filter the material in the list by tapping Filter records and entering the first few letters or numbers of the material name, bin location, or part number. Tap Rows to adjust the number of rows shown in the panel. The number set in this panel will persist on all other administrative pages.
- Tap Add
- Select materials to add to the storeroom.
When adding a material, the stock must be changed in Storeroom through an Audit or Receive transaction. See Perform an Audit or Receive Material for more information.
- Enter the Bin Location.
- Enter the
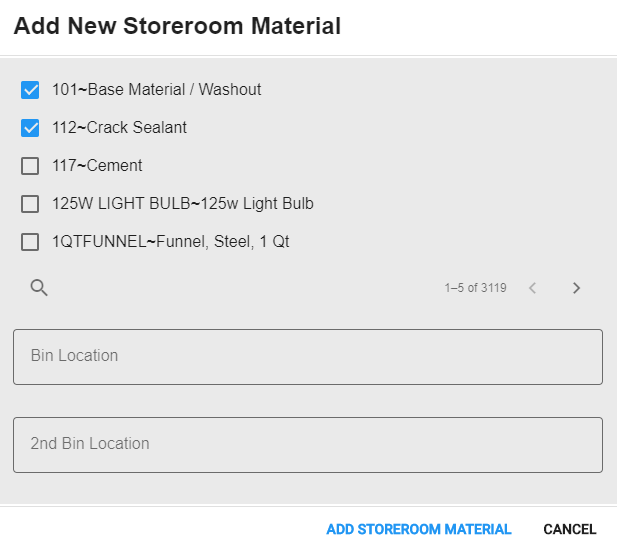
- Tap the arrow to the right of the new material to finish editing the storeroom material details.
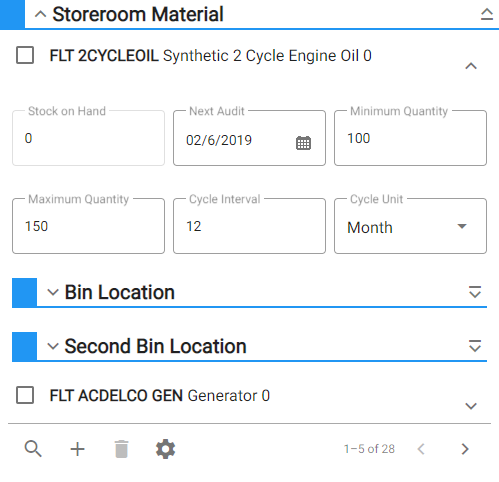
For an explanation of fields found on this page, see Storeroom Materials Fields.
To add the bin location and images to the material, see Configure Bin Locations and Images for Materials.
- To edit a storeroom material, tap the arrow to the right to expand its details and make the desired changes.