Add or Edit a Group
Groups is used to add or update groups.
|
|
 PREREQUISITES:
- Tap Config from the menu.
- Tap Groups.
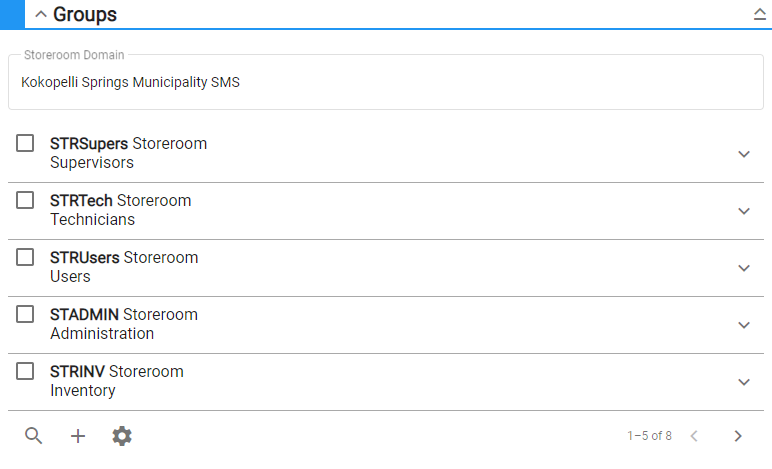
The Groups panel lists all existing groups. You can filter this list by tapping Filter records and entering the first few letters of the group. Tap the gear icon to adjust the number of rows shown in the panel. The number set in this panel, will persist on all other administrative pages.
- Tap Add
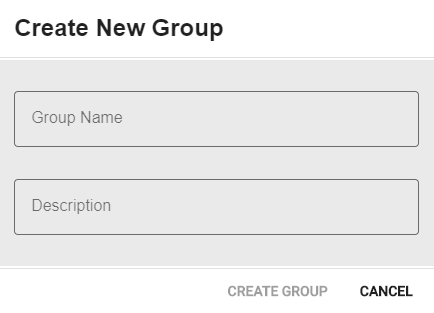
- Enter the Group Name and Description.
- Tap Create Group.
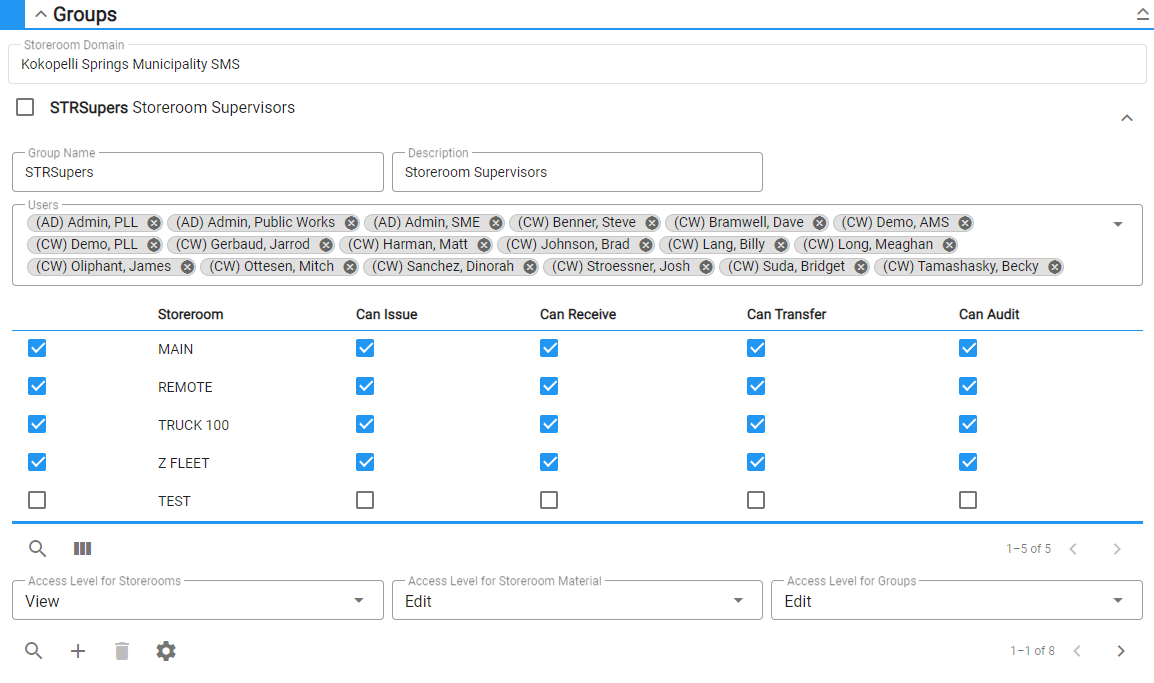
- Tap the arrow to the right of the new group to add users and group rights.
- Add employees to the group by tapping the Users field and entering the name of the users in the search field. Select the check box next to the desired user to add them.
 NOTE: If you have a user who needs to issue material from a work order, but isn't licensed for Storeroom, add them to a group and give the group Can Issue rights to all storerooms they work in. This allows the user to select a storeroom while issuing material from a work order outside of Storeroom.
 TIP: Tap the X next to a group member to remove it from Group Members. If a group member is removed from a group in their default domain, an error will display. If you still want to remove the group member from the group, their default domain will need to be changed.
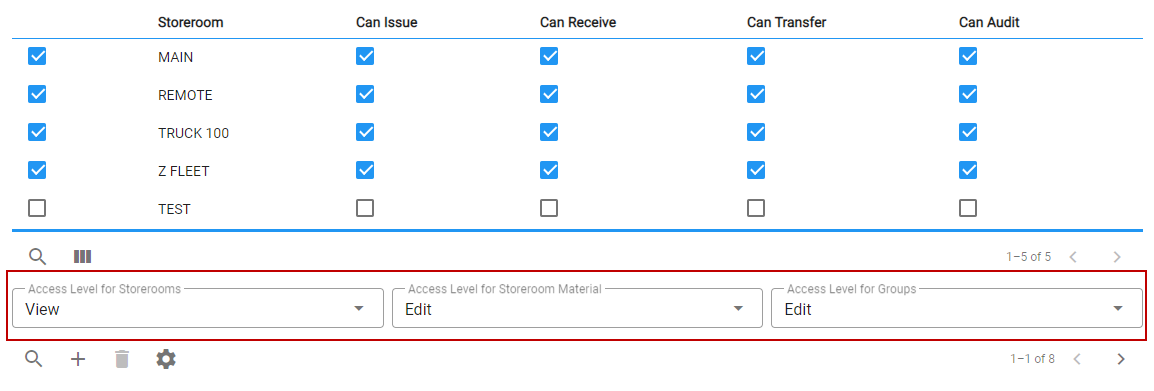
The rights of the group display for the listed storeroom(s) under the Users field.
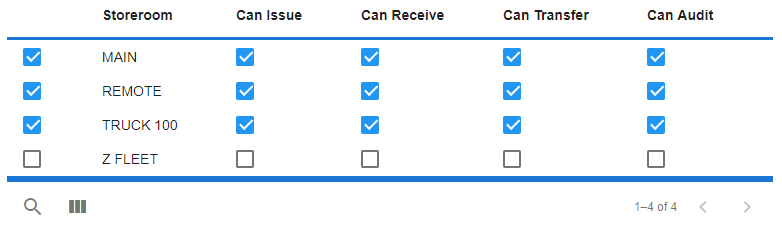
- Select the appropriate permissions for each group for Can Issue, Can Receive, Can Transfer, and Can Audit.
NOTE: If a user has Can Issue rights, Can Receive rights should also be given so that unused material can be received back into the storeroom. Any user has the rights to perform a requisition as it is merely a request for material and doesn't affect the inventory.
For an explanation of the group rights found on this page, see Group Rights Fields.
- Select one of the following permissions from the Access Level for Storerooms, Access Level for Storeroom Material, and Access Level for Groups drop-down lists:
NOTE: Storeroom administrators or Cityworks administrators already have permission to see and interact with any page on the Config tab.
- None: Select None to hide the Storeroom Material page or the Groups page. If None is selected on all three drop-down lists, the Config tab is hidden.
- View: Select View to allow access to the Storeroom and Storeroom Material panels on the Storeroom Material
- Edit: Select Edit to allow users to add and edit storerooms and storeroom materials,
- Admin: Select Admin to allow users to add, edit, and remove storerooms and storeroom materials. For the Access Level for Groups drop-down list, the Admin permission allows users to add and remove users from a group, or to add or remove a group.
- To edit a group, tap the arrow to the right of a group in the Groups panel and make the desired changes.
NOTE: Storeroom automatically saves the changes you make. A notification will appear at the bottom of the window that says Changes Saved when you make changes to the page.