Edit a Case Template
Existing case templates may be updated or changed at any time without having to create new templates to replace them. There are also a few controls that are only available on the Edit: Case Template panel.
|
|
 PREREQUISITES:
To edit an existing case template, follow these steps:
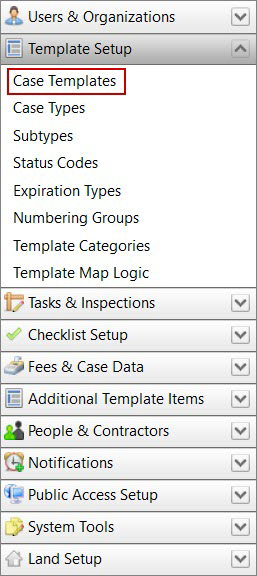
- Click Template Setup on the PLL Admin menu and select Case Templates.
- On the Case Templates panel, click Edit record next to an existing case template.
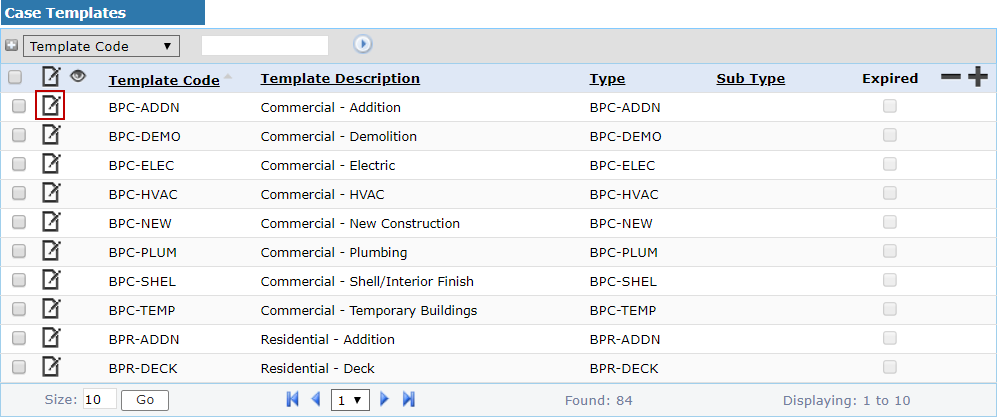
 NOTE: Search or filter the records on this panel to quickly find the one(s) you want. See Search and Filter Records for more information.
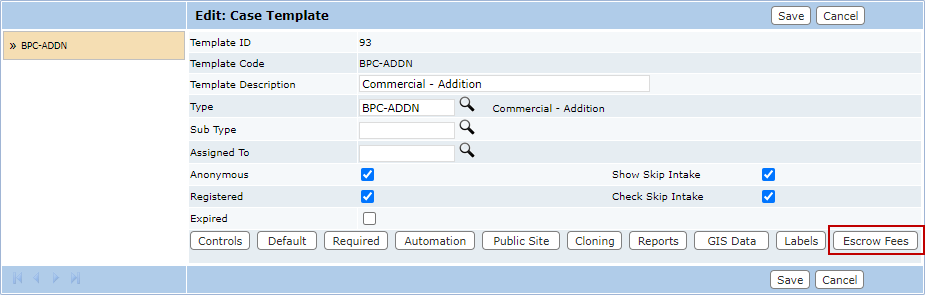
- The Edit: Case Template panel contains all the same information as the Add: Case Template panel, as well as a few new items.
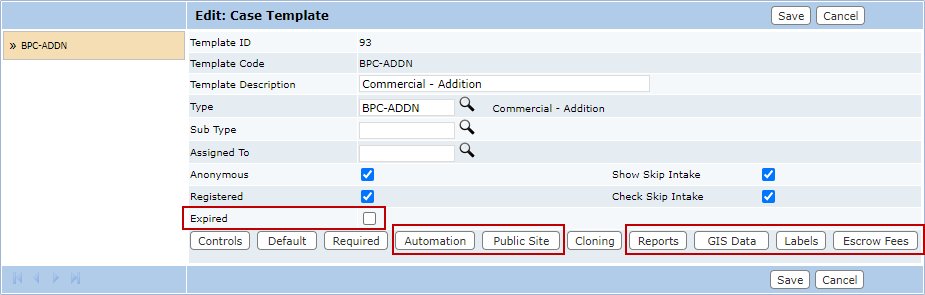
Any data on this panel may be changed and updated, except for the Template ID and the Template Code.
NOTE: See Remove a Case Template for more information on the Expired check box.
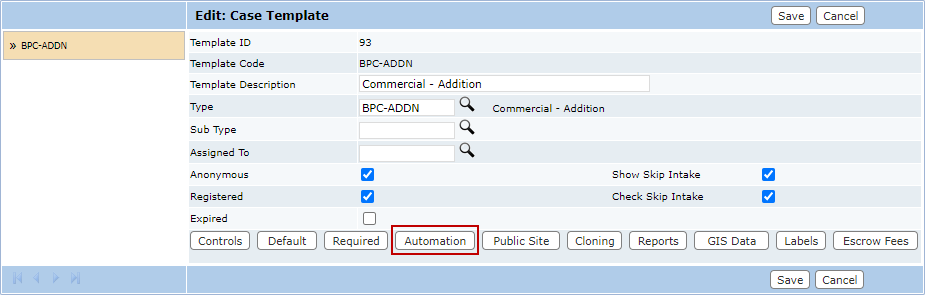
- Click Automation to allow the case to automatically advance to the next case status when all fees are paid. See Configure Automation on a Case Template for more information.
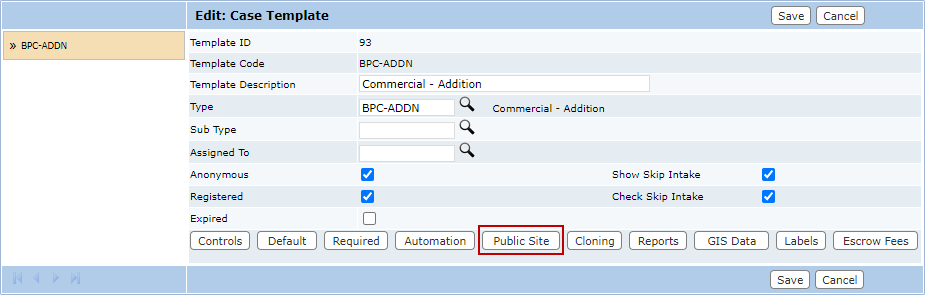
- Click Public Site to configure what screens or tabs are visible to citizens and contractors when they log in through the public website. See Configure Public Site Options on a Case Template for more information.
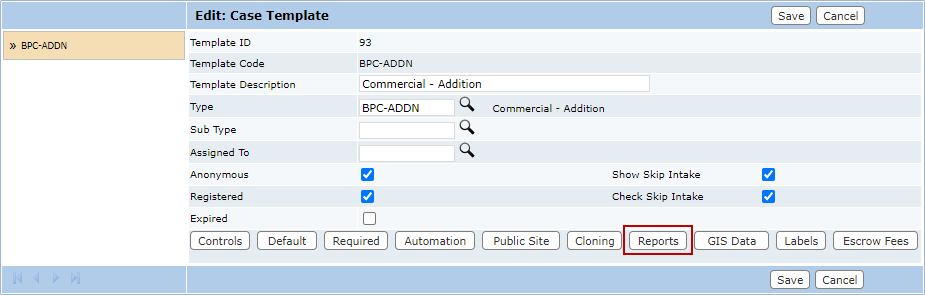
- Click Reports to define default reports for the template. See Configure Reports on a Case Template for more information.
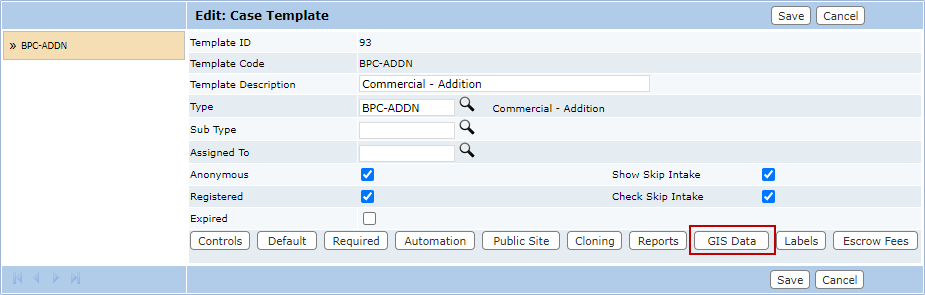
- Click GIS Data to configure map layers to display specific information from the case. See Configure GIS Data on a Case Template for more information.
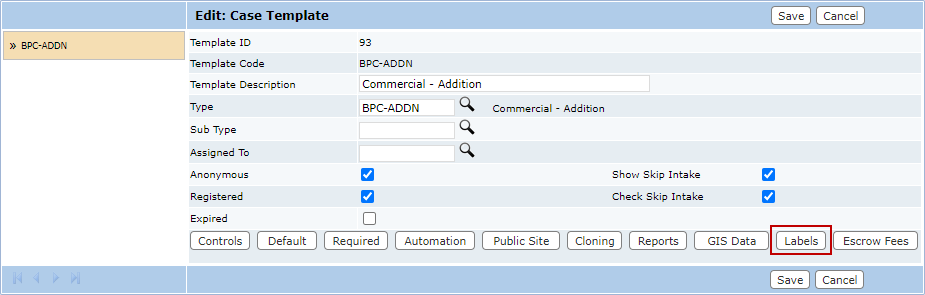
- Click Labels to add information on what documents or other attachments are required or recommended for this case template. See Configure Attachment Labels for more information.
-
Click Escrow Fees to select which fees can be paid using escrow funds. See Configure Escrow Fees for more information.
-
Click Save.

